For the last couple of issues our object spotlights have been located within our solar system. It is quite easy to see them, Jupiter and the Moon in particular, but quite difficult to image them. The term for imaging the solar system is Planetary Imaging despite the fact that both the planets, the moon and the sun are all imaged in this manner
This two part article will take you through the steps required to take some good pictures of the astronomical bodies in the solar system. The first part will concentrate on equipment and capturing the images, the next article will look at how to process them.
Unlike conventional deep space photography you do not just point your camera at the object and then take a long exposure image. You can get some acceptable pictures of the moon with a long telephoto lens and a single exposure, but the best way to create a still image is using a video!
That may sound a little counter-intuitive, but there are good reasons for this process. First we need to think about how the video works. A video consists of a series of still images that are played back rapidly to create the illusion of movement. This is the core principle behind the way imaging of planetary bodies works. You take hundreds of images and then discard most of them leaving a large number of good quality images. These good images are then combined to enhance the detail and produce the final picture.
Why is this better than taking a single image? There are a number of factors involved, but the main disruptor to imaging is a constantly moving atmosphere between the camera and the target. As the atmosphere shimmers with the thermal currents so the image is distorted. This effect can be clearly seen when looking through a telescope at say Jupiter as the planet seems to wobble and shift in and out of focus as you are observing it. This is the effect that needs to be removed.
The easiest way to do this is with an internet camera often referred to as a webcam. This can be either a purpose bought device or a cheap converted computer web camera. They are essentially the same thing.
Equipment for planetary imaging
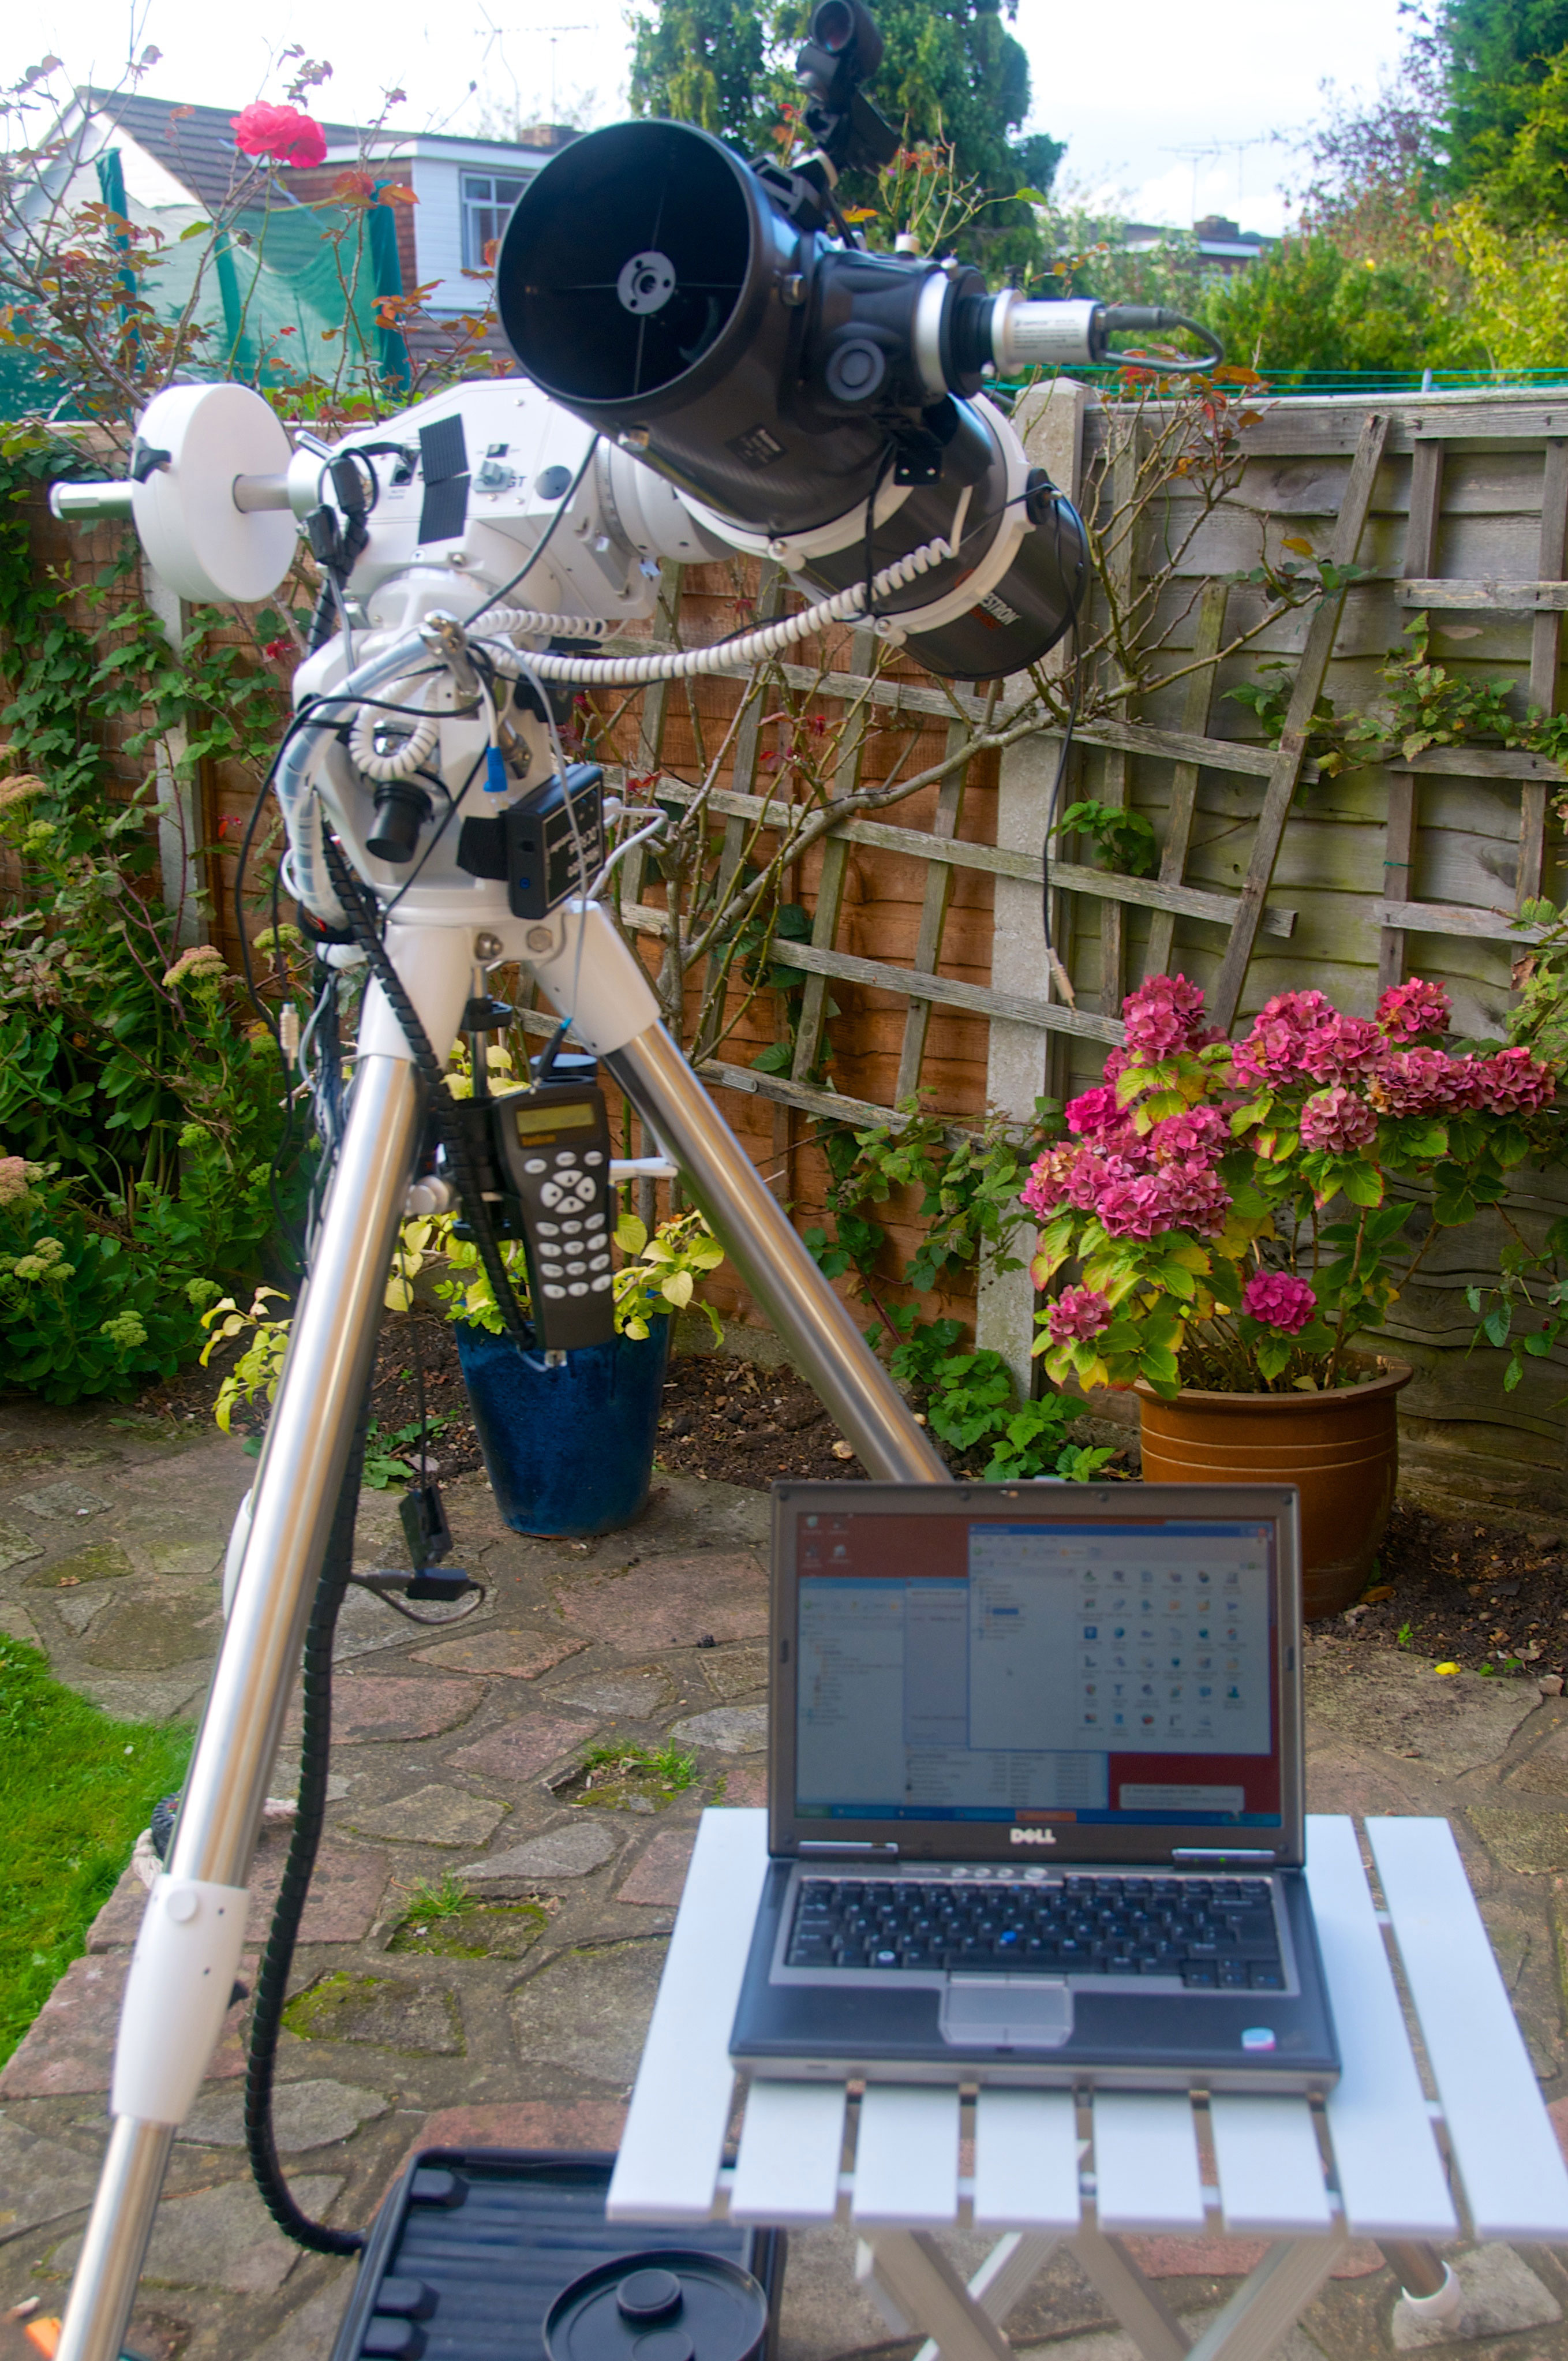
The equipment that you will need is as follows:
- Mount-tripod or telescope mount
- Telescope
- Webcam
- Computer
- Capture software
- Processing software
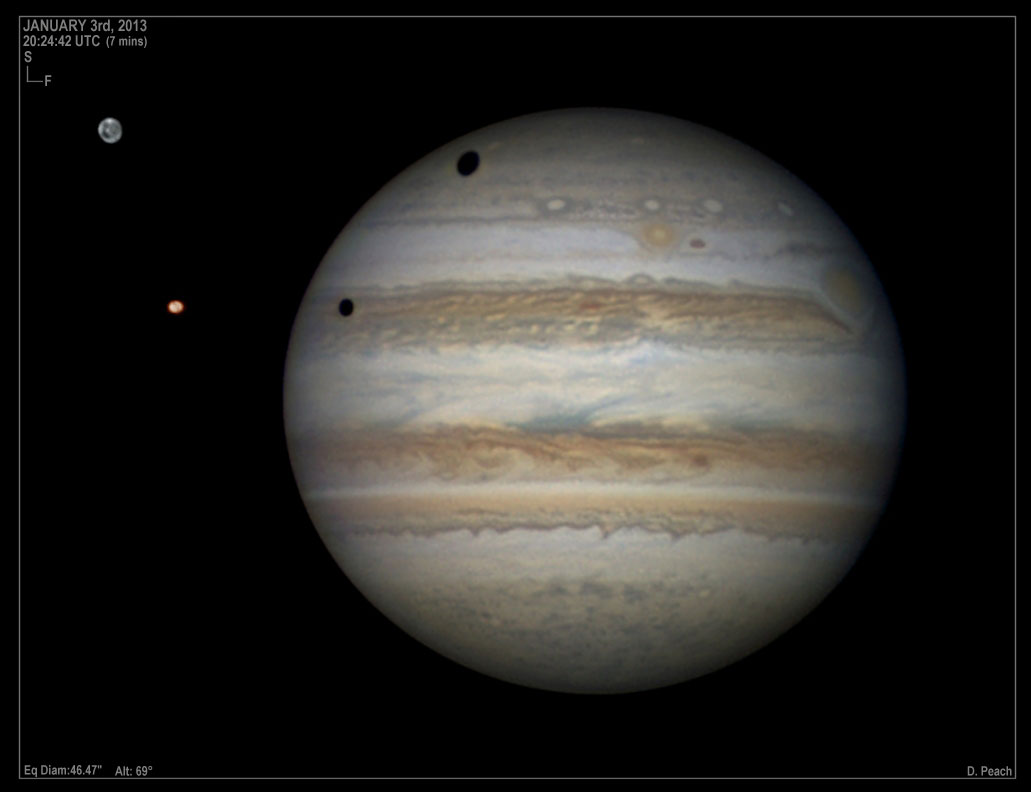
Credit Damian Peach (www.damianpeach.com)
The mount:
The ideal mount would be a tracking mount that will keep the object in the middle of the frame during the exposure. This is not critical though and a normal camera tripod can be used. The main thing is for the telescope and camera to have a solid base to attach to.
The telescope:
Any telescope is suitable for the Moon, and telescopes with longer focal lengths are good for both the Moon and planets. In photographic terms I have used a William Optics GTF-81 with a focal length of 478mm a Celestron C90 Mak (1250mm) and a Celestron C130 SLT (650mm) all with good results. Planetary imaging is better with the longer focal lengths and the Moon is good with all of the telescopes I have tried. The longer the focal length, the greater the magnification, resulting in a larger image on the webcam sensor.
The computer:
Although planetary imaging can be achieved on a Mac computer the main software components are designed to run on a PC platform. Out of preference I use a laptop running Windows XP, but the software runs on all versions of Windows. The laptop is useful to position near the telescope to enable easy focusing and adjustment of the equipment.
Capture software:
In order to transfer video from the webcam to the computer some software is required. If you have a specialised astronomy planetary camera or webcam then this will have software included to control the camera and save the output onto the computer. If you do not have capture software then there are a number of free applications available to download from the web. Two examples are SharpCap (http://www.sharpcap.co.uk) and wxAstroCapture (http://arnholm.org/astro/software/wxAstroCapture/).
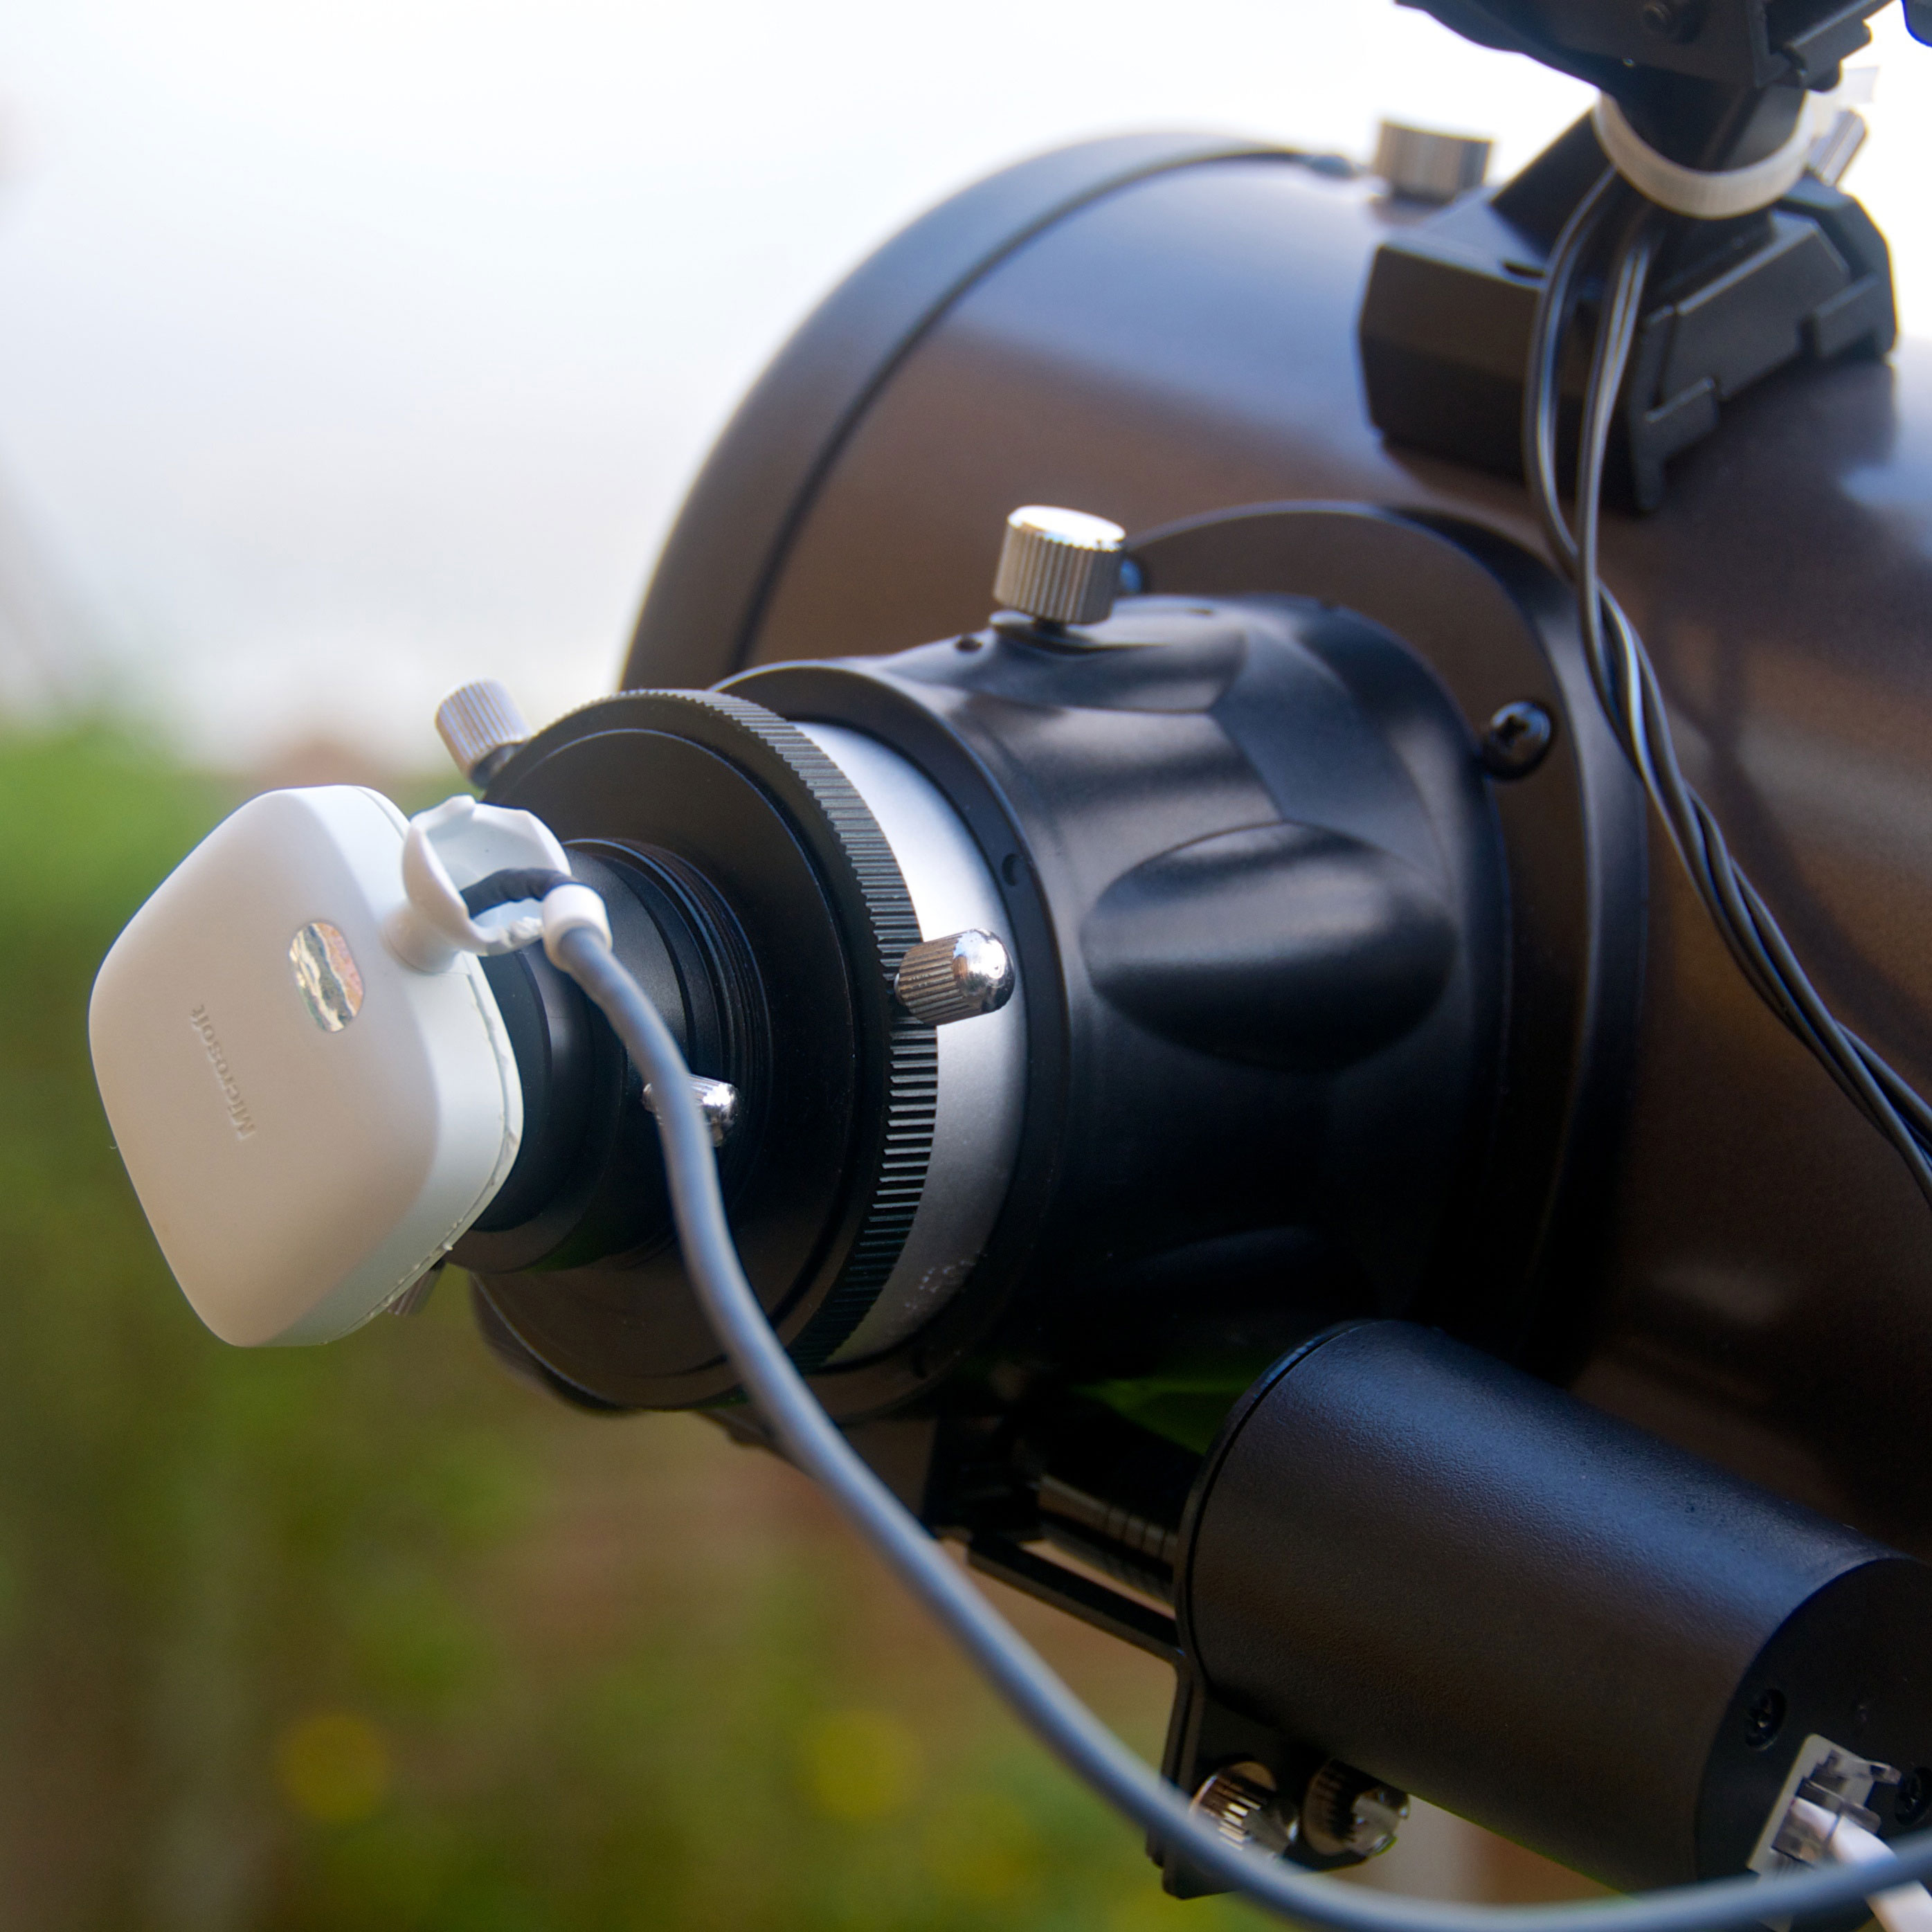
was opening the casing. Credit Mike Barrett (www.wired4space.com)
Processing software:
Again a commercial planetary camera will come with processing software, but it will mainly be the same freeware or shareware software that you can download from the Internet. The most popular processing application is called Registax (http://www.astronomie.be/registax/). This analises the video, determines which are the good images on them, aligns them, and stacks them all into a single image. There are then some post processing options that can be applied to the image to bring out the detail.
Webcam:
I deliberately left the webcam to last as there are so many options that you have available. These range from buying a dedicated ‘Planetary Imaging’ or ‘Solar System Imager’; using a telescope guide camera; to modifying a standard computer webcam. Celestron have a range of webcams available from $90 to $280 and Orion Telescopes from $60 to $200. There are many other makes available as well.
For my first venture into planetary imaging I modified an old XBox Live webcam for about $10, the cost of a replacement nose piece which screws onto the body and has the same dimensions as normal eyepiece. The results obtained from this $10 imager were about the same as my $200 dedicated camera. If you have an old webcam lying around and are not afraid of destroying it then it is not a difficult modification. Indeed the most difficult part is removing the casing. There are many tutorials on the web, Astro-Beano (http://astrobeano.blogspot.co.uk/2012/01/xbox-360-webcam-for-astrophotography.html) has a good one. Just look at the updates towards the bottom where he removes the IR filter and fits a purpose built eyepiece adapter.
Managing expectations
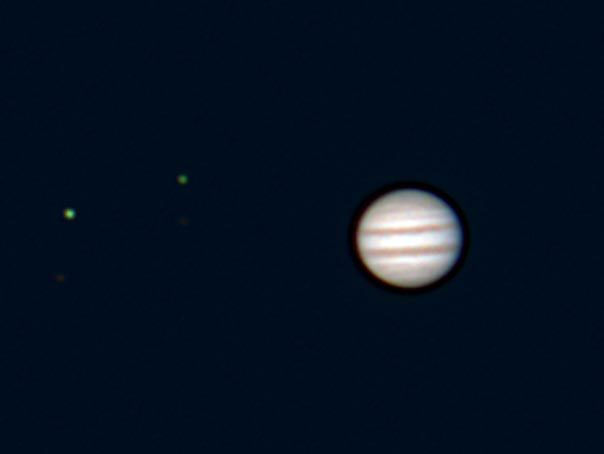
Before going any further it is a good idea to understand what you can get from this type of setup. What you will not get is a full color A4 size print except possibly for the Moon. Using modest telescopes you can expect to get large images of the Moon, but relatively small ones for Jupiter and Saturn and very small ones for other planets.
That is not to say that planetary imaging is not fulfilling. I remember the first time I managed to capture Saturn. It was the only planet in the sky at the time and I was impressed with the tiny image showing the planet and rings in less than 150×100 pixels. There was a strong feeling of accomplishment having captured and processed the image with my modified computer web camera.
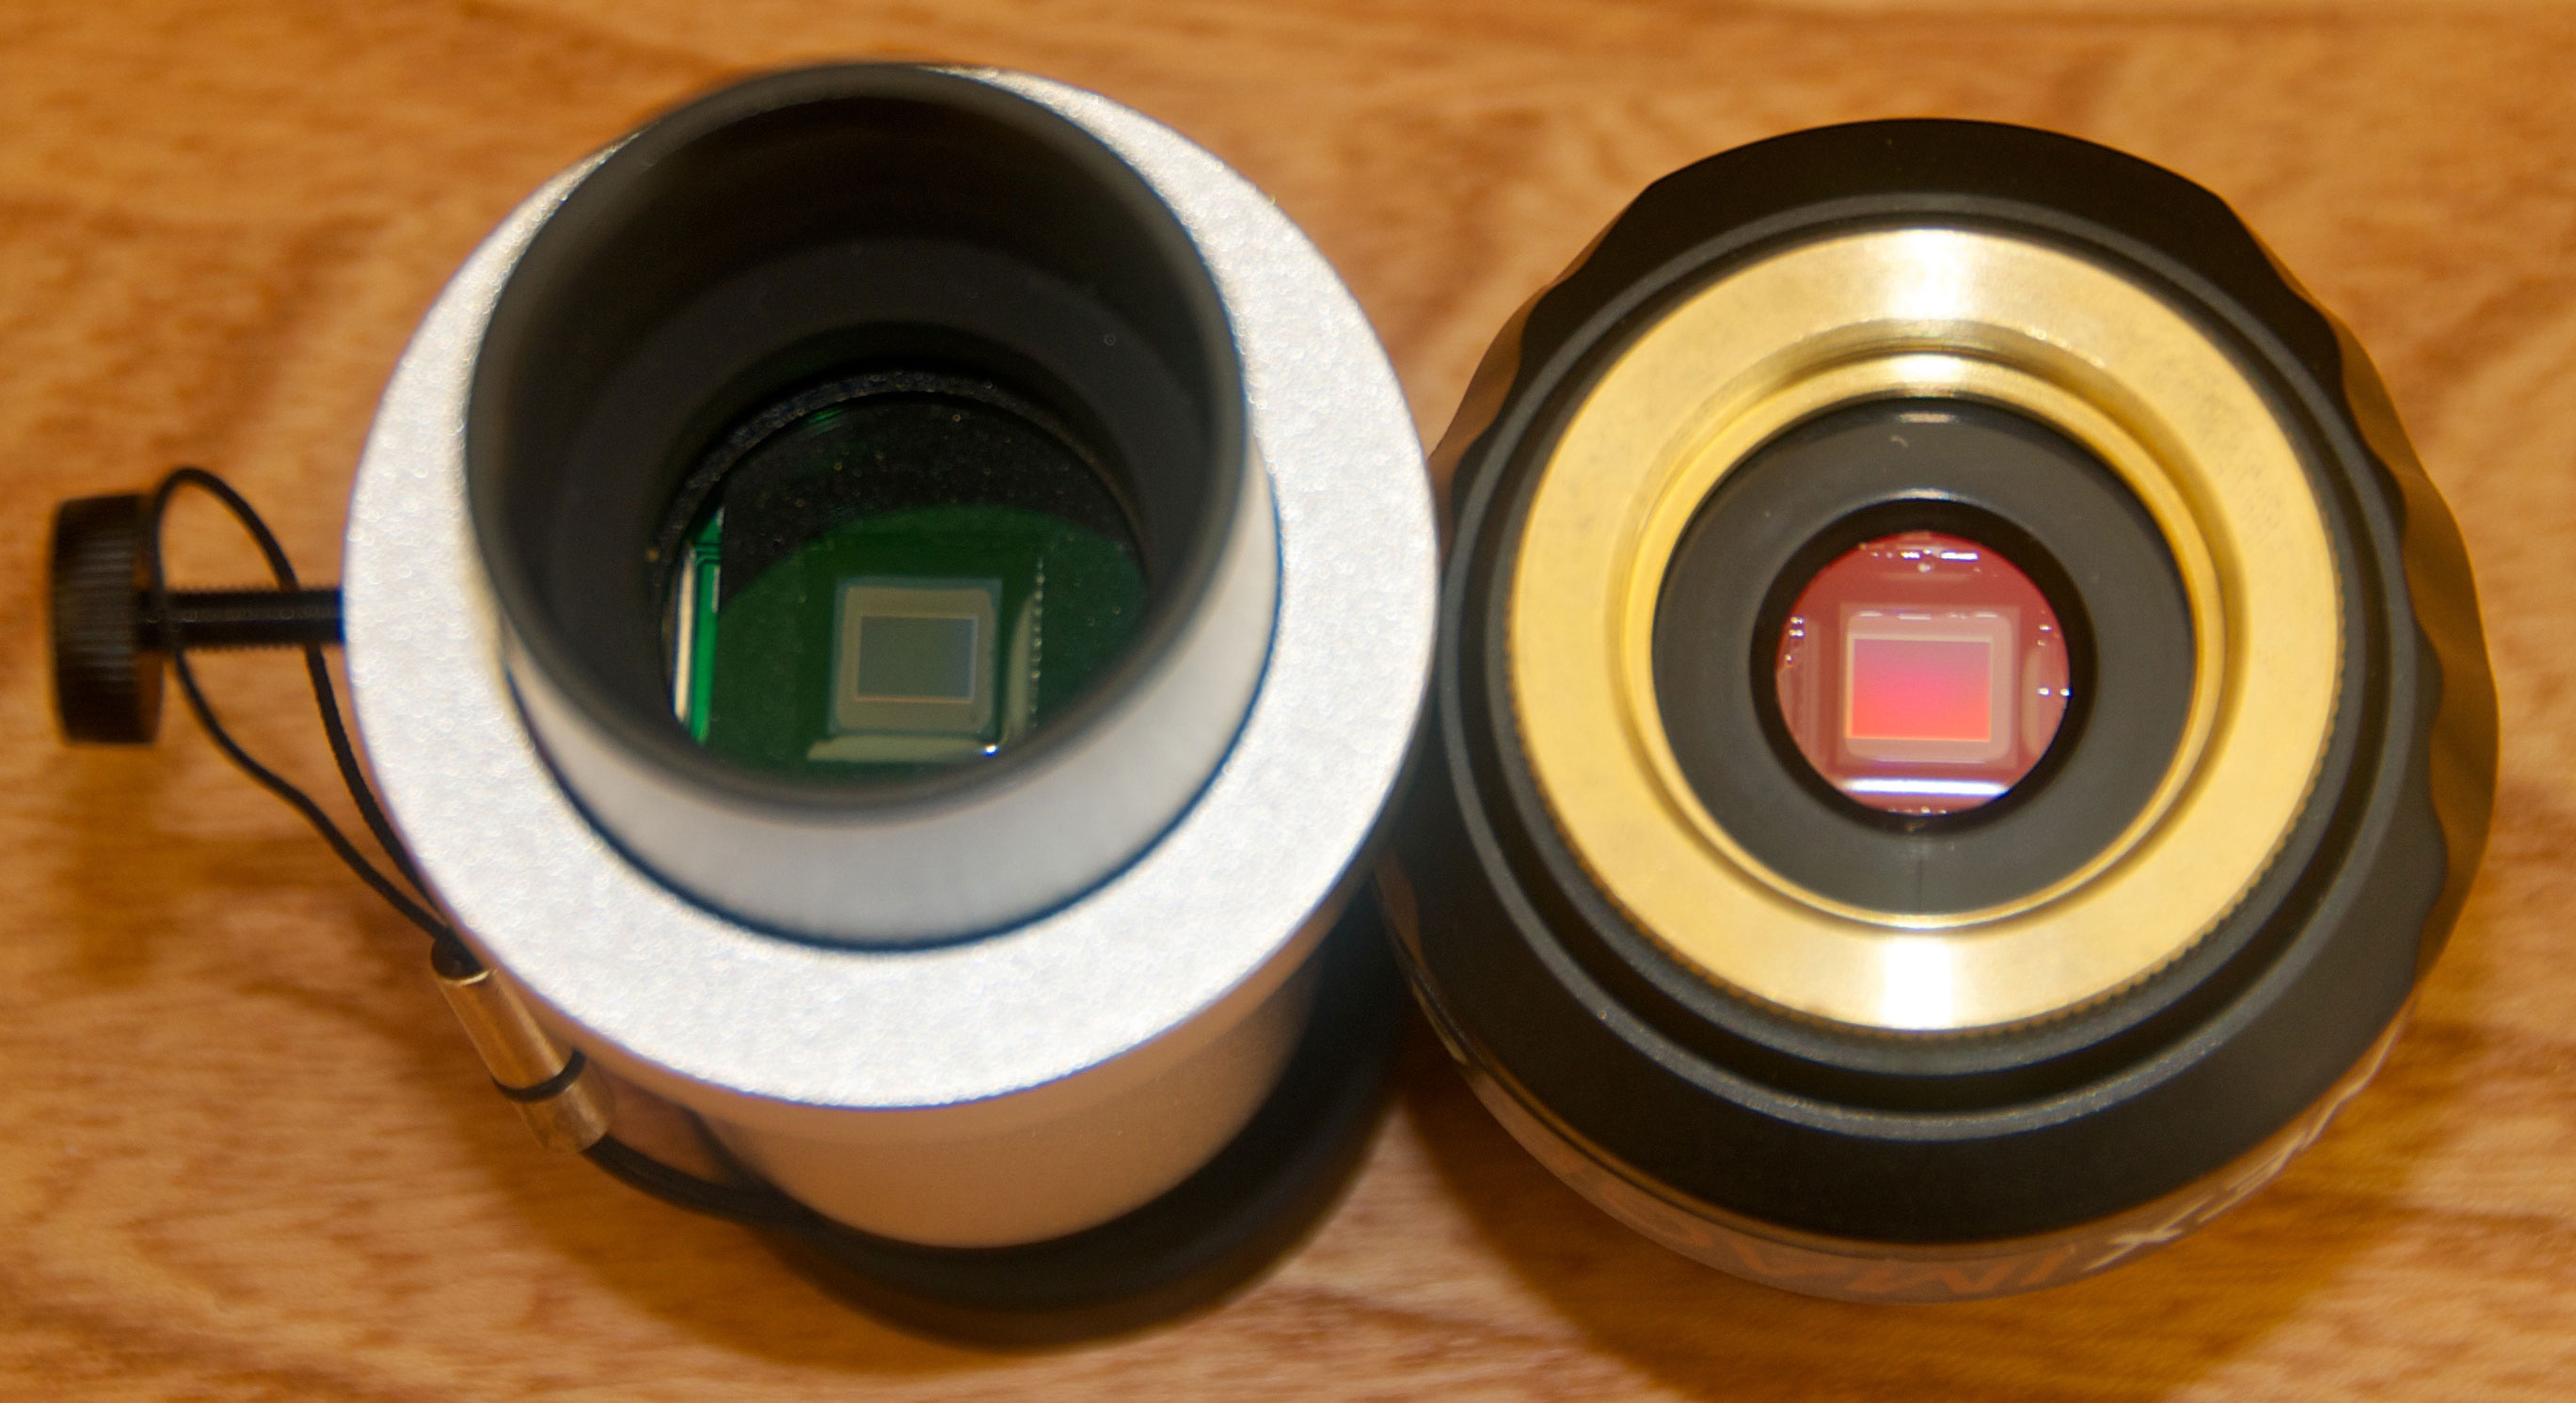
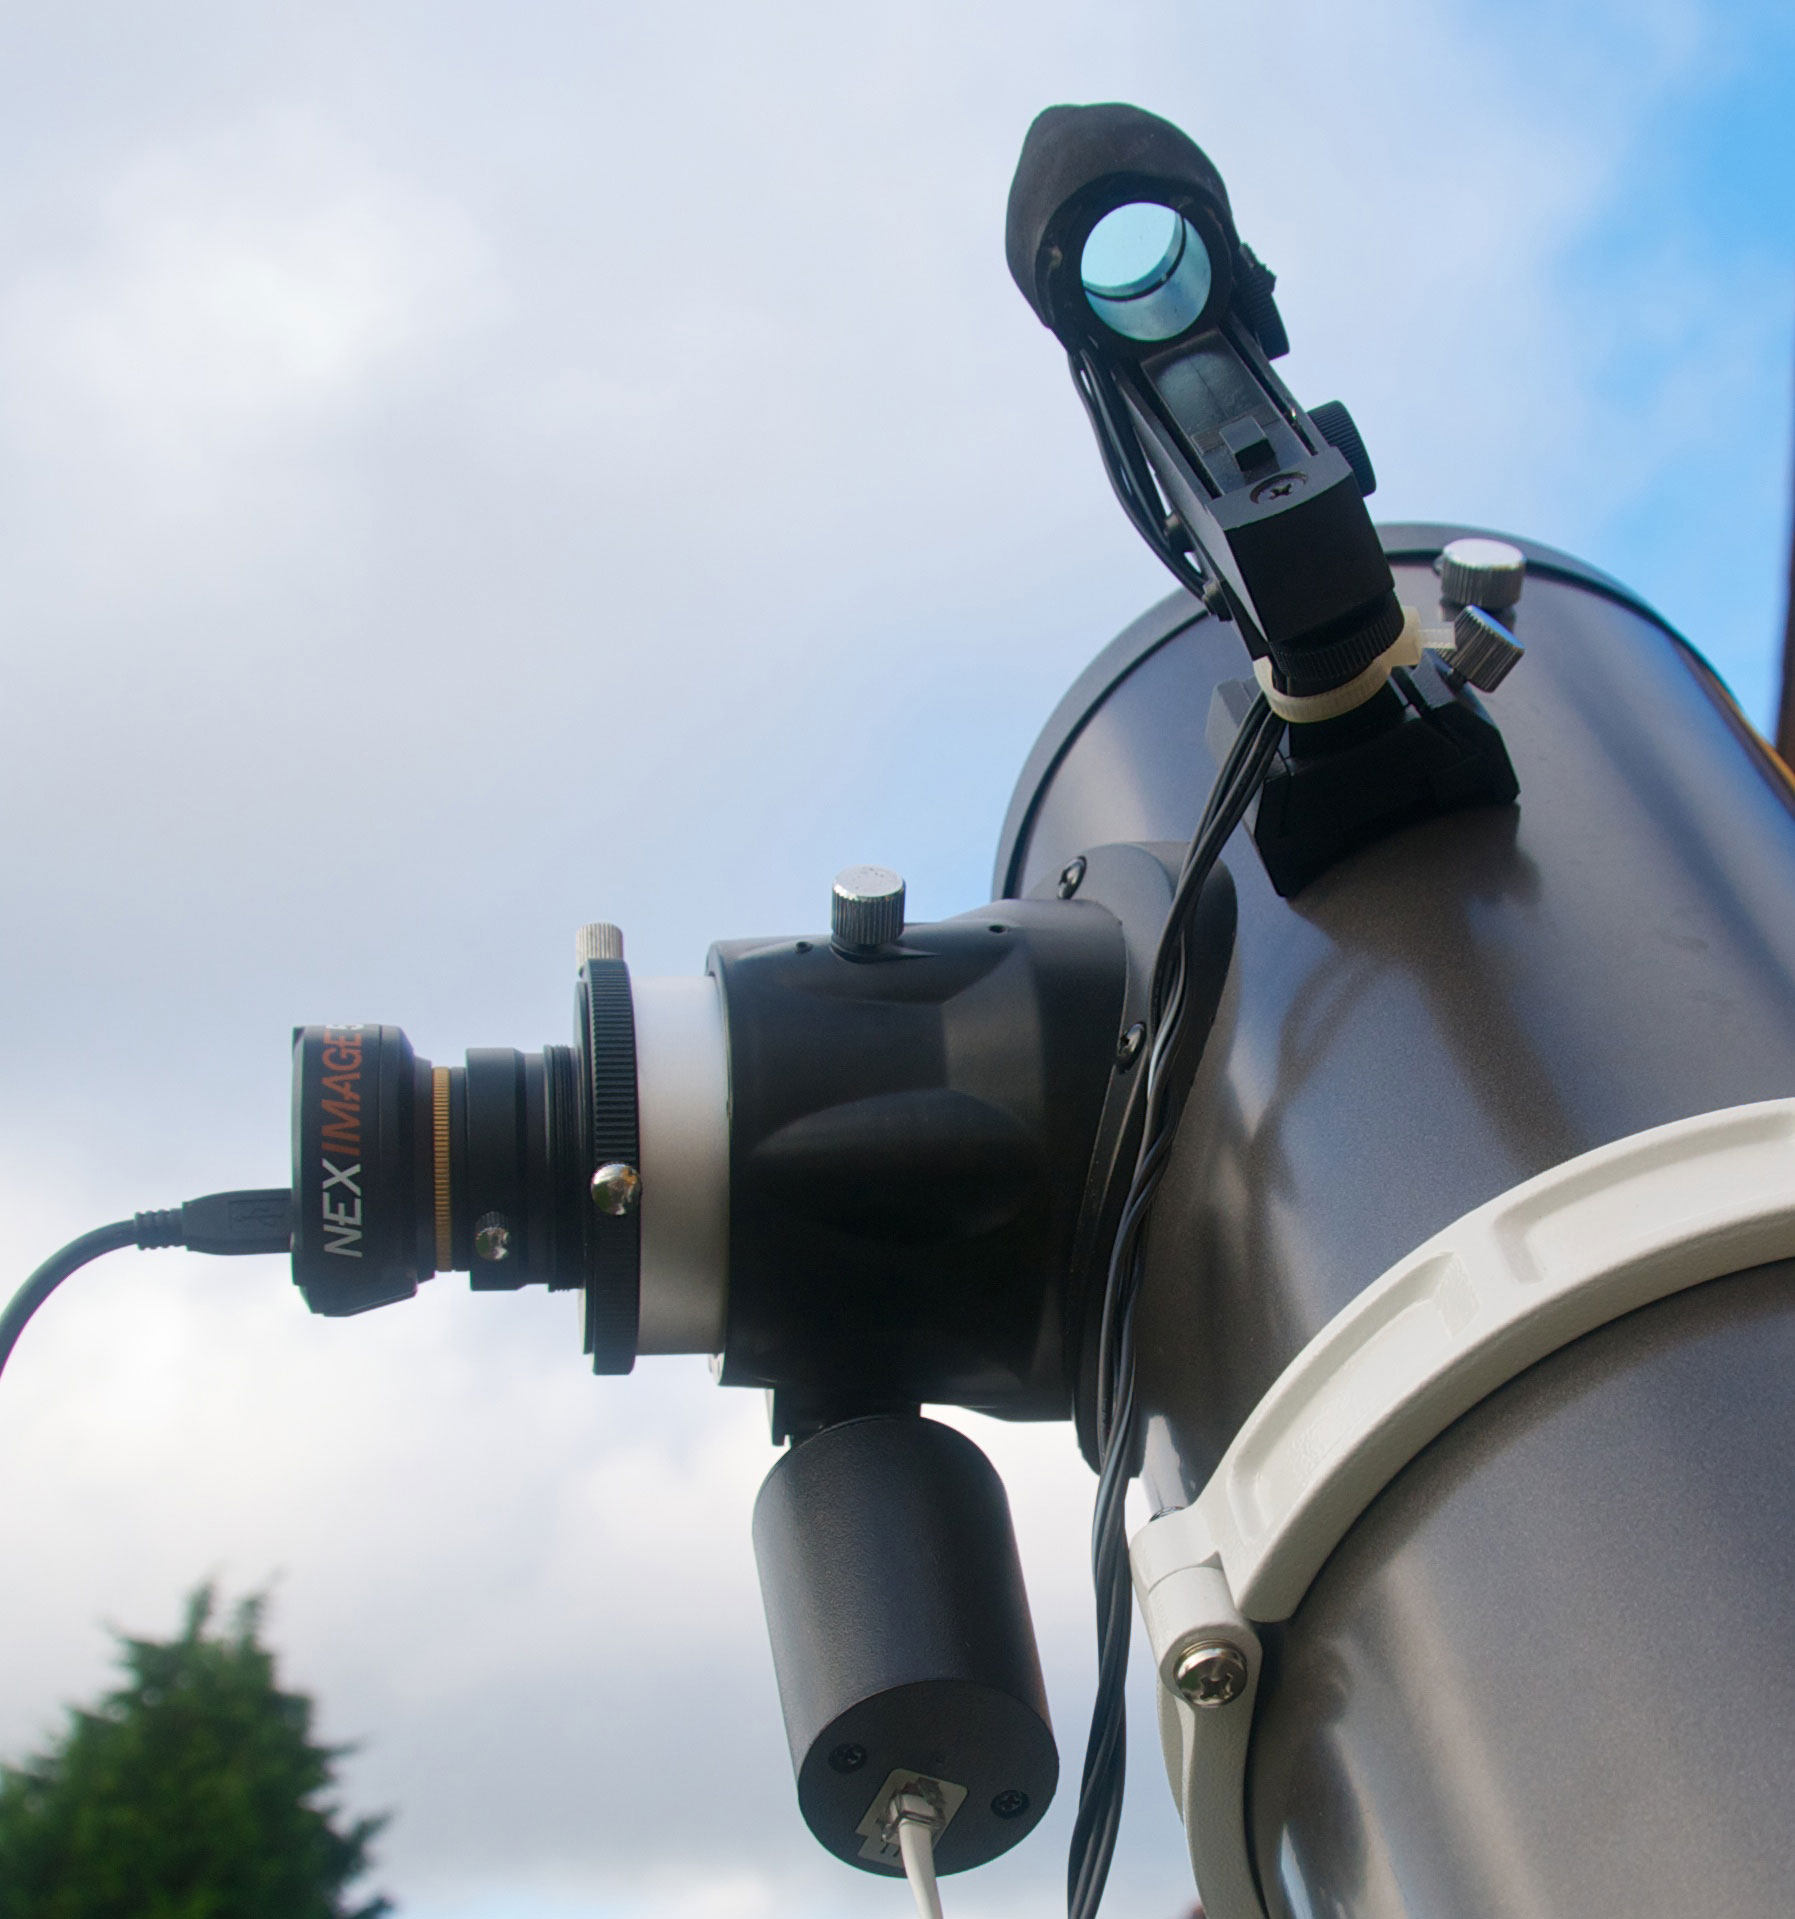
Having decided that this was something I really wanted to do I then purchased a 5MP Celestron NexImage 5 expecting to take much better images as the sensor was much larger 5MP compared to 0.3MP. I was wrong! All I managed to achieve was to get more dark sky in the image (explained later). The camera did have other benefits so I was not complaining. I also found that it was impossible to video at 5MP and process the video. The frame rate drops dramatically and the files that are large at lower resolutions suddenly become huge!
Getting started
Once you have your telescope pointing in roughly the right direction with all the connections made you will probably find it quite difficult to locate the planet that you are trying to image. This is most likely because the telescope is not at the correct focus point. When the focus is a long way out you will not be able to see anything on the preview. So when first starting out it is best to pick a large object like the Moon. The Moon is so bright that even with an out of focus telescope you will still see a silver disk. If you are trying to locate Jupiter or Saturn and you are not close to focus then you will struggle.
Having located the moon the first thing to do is to focus the telescope with the webcam attached to the eyepiece. Obviously the easiest way to do this is with the computer very close to the telescope. This will allow you to turn the focusing knob at the same time as viewing the image on the screen. At this time it is probably best for the camera to be set to Auto Gain and Auto Exposure. When you have achieved focus make a note of roughly where the focuser is on the telescope. This will enable you to get the setup focused faster next time.
If you are imaging the Moon then you are ready to go. If you are trying to capture one of the planets you now need to point the telescope to the planet (Jupiter is the easiest to start with) and then focus again. The fact that you have already focused on the moon will mean that the focus will be almost right for the planet.
With a nice sharp image on the screen you will see that the target object appears to wobble a bit, sometimes quite a lot. This is the effect of the turbulent atmosphere and sometimes the wind. If people are walking around your setup then this can also transmit vibrations to the telescope. Now you can see the issues we need to remove from the video to get a great image.
Framing the shot
When imaging the planets they are quite small on the sensor of the camera. Setting the camera to capture at the highest resolution is a waste of resources and will lead to issues when processing. Jupiter at 2592×1944 will expose exactly the same number of pixels as at 640×480, the software just crops the image from the camera sensor. The object here is to get the smallest frame size possible to image the objective. This will generate the smallest video files making the processing easier. When framing the shot allow some room for the motion of the object whilst setting up and capturing the movie.
You will obviously have your imaging session dictated by the location of the planet or the Moon. If you have choices then it is far better to image when the target is as high in the sky as possible. This is because there is less atmosphere for the light to penetrate therefore less atmospheric disturbance to image through. With some planets and phases of the Moon it is not possible to get a high elevation shot so you will have to take more video to compensate.
Exposing the image
Exposure for the video can be a little tricky. With capturing the Moon it is a little easier as there is more of the moon in the frame than dark sky, but with planets the majority of the image will be dark sky. The trick here is to lower the exposure control and possibly raise the gain until the detail of the planet is visible.
If you are capturing Jupiter then when you have the exposure correct for the planet surface you will find that the Jovian moons have disappeared. This is because to correctly expose the planet it will underexpose the moons. To overcome this I take two videos: one for the planet; and one for the moons. The video with the moons correctly exposed will leave the planet hugely overexposed. I then process the two images separately and then merge them to create a composite picture with all parts exposed correctly.
It can be a good compromise to use a higher gain and a corresponding higher frame rate. This is especially true if the atmosphere is very turbulent during your imaging session. Increasing gain increases the grain and decreases image quality. Increasing frame rates is like shortening the shutter speed on a camera, the faster the frame rate, the less movement is captured. This can be effective for countering atmospheric effects.
Capturing the video
The video is now ready to be recorded. I normally ensure that I take around 2000 frames. If the atmosphere is particularly unstable then the more frames you take the better. It is easy to drop bad frames, but impossible to get additional ones later. In fact that is a good rule of thumb: Take as many frames as possible. The only thing to watch out for is excessively big files.
One final thing to bear in mind, particularly with Jupiter, is that the planets not only move through the sky but also revolve around their axis. This means that you can only really use content from the same video to create an image as features on the planet will have revolved.
Conclusion
Planetary imaging is all about compromise.
The main factor that affects the quality of the images is the Earth’s atmosphere. Being able to image through as little of the atmosphere as possible and on good stable days will vastly improve the quality of the videos, which in turn will lead to better images.
In the next issue, the processing of the video into a single image will show how a wobbly and blurred video can generate a stunning final result.

